
Makerspaces: Making a Difference for the Planet
/
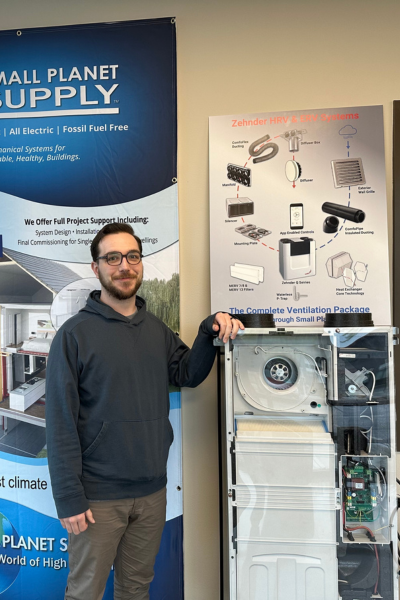
We’ve been doing Earth Day blogs for years, so coming up with a new Earth Day blog post topic was challenging. Then, it turns out a topic was right under our noses. Recently, Small Planet Supply joined Lacey MakerSpace. We joined to be able to get comfortable with machinery we don’t have now but might purchase in the future. However, once we learned more about what was available at makerspaces, there was several reasons why these spaces deserve a bit of recognition on Earth Day (and every day).
Read More